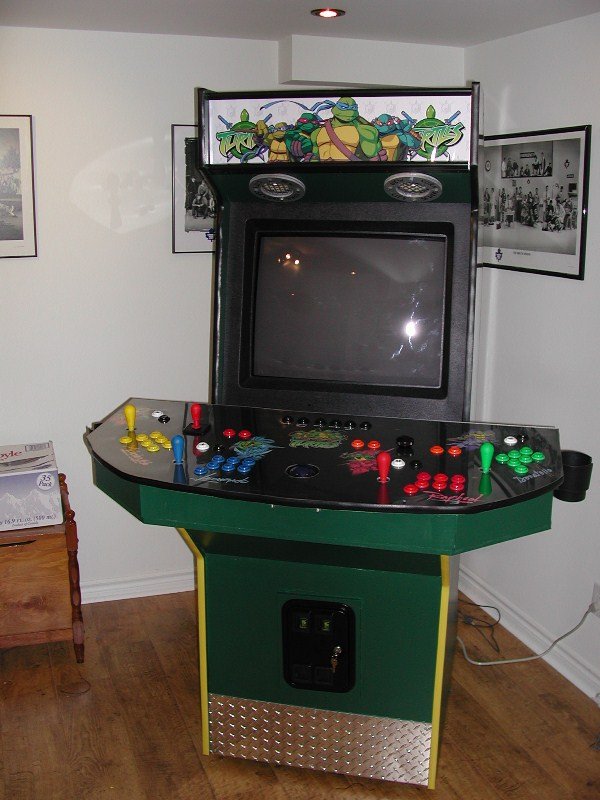
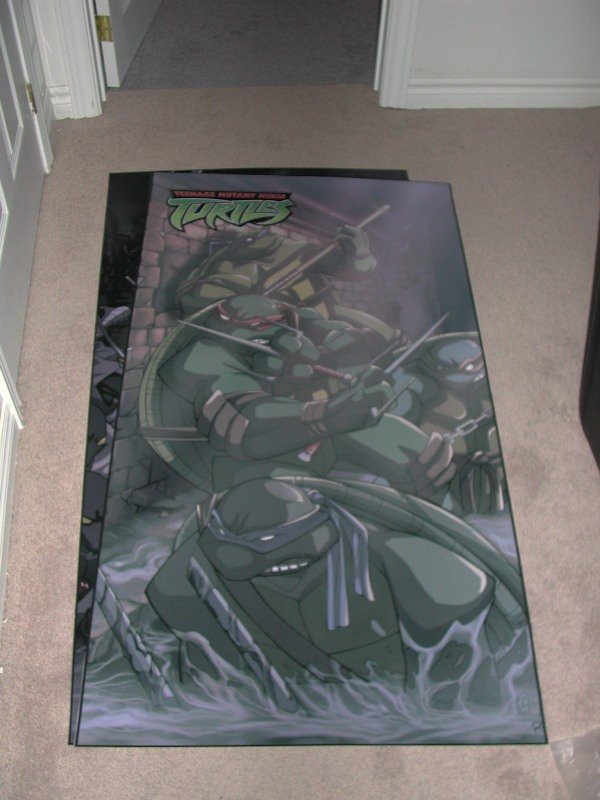
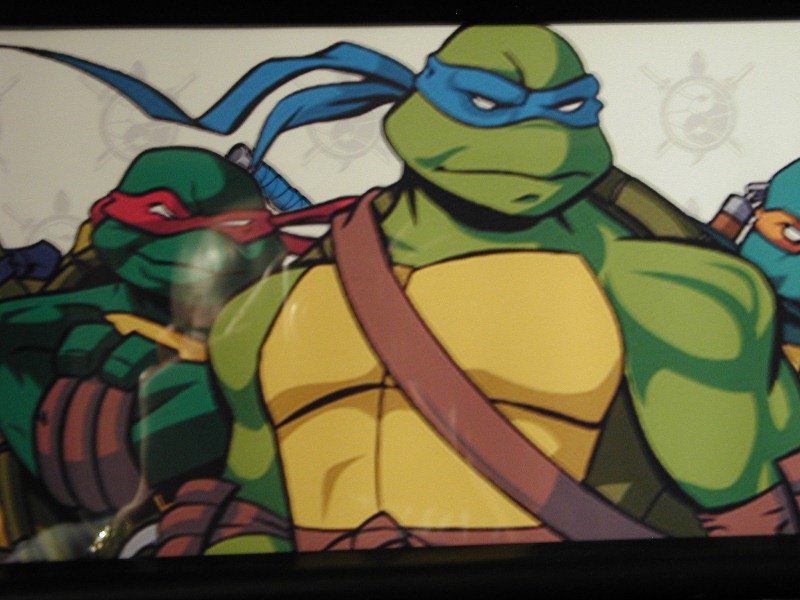
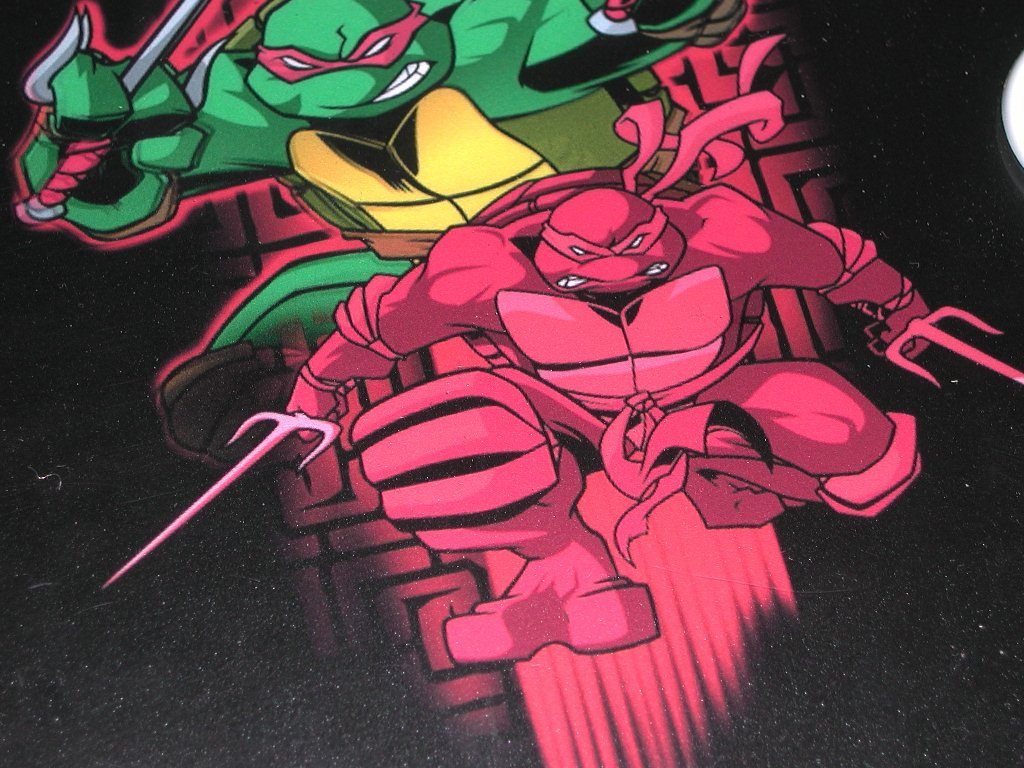
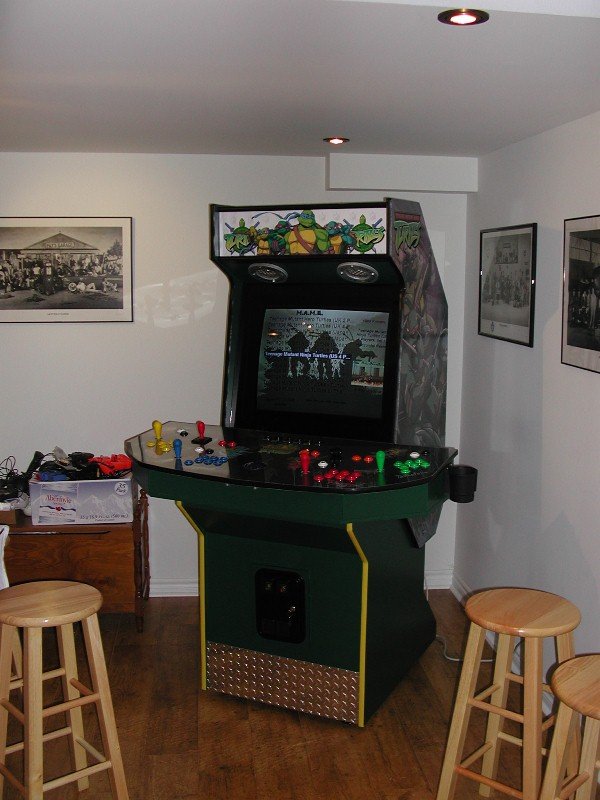
The artwork is perhaps the part I stressed about the most. I wanted to make sure that thing looked sharp. I lucked out when I found a comic book cover that wrapped around the Ninja Turtles and Foot Clan. Splitting it right down the middle gave an awesome left and right side to the cabinet so it looked like each side was coming around to front.
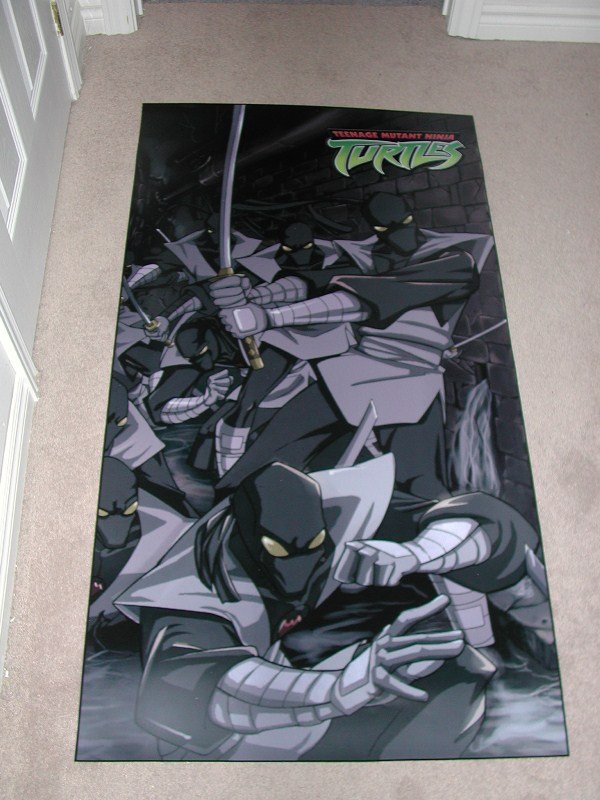
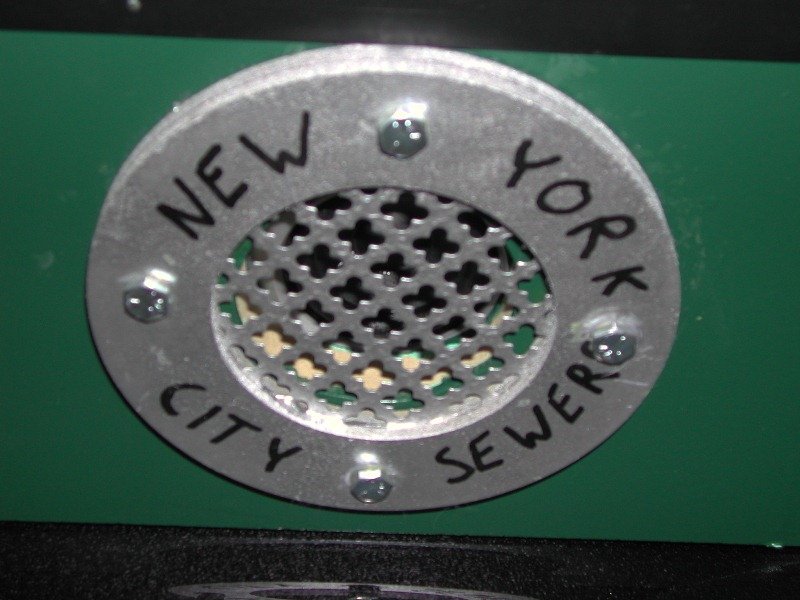
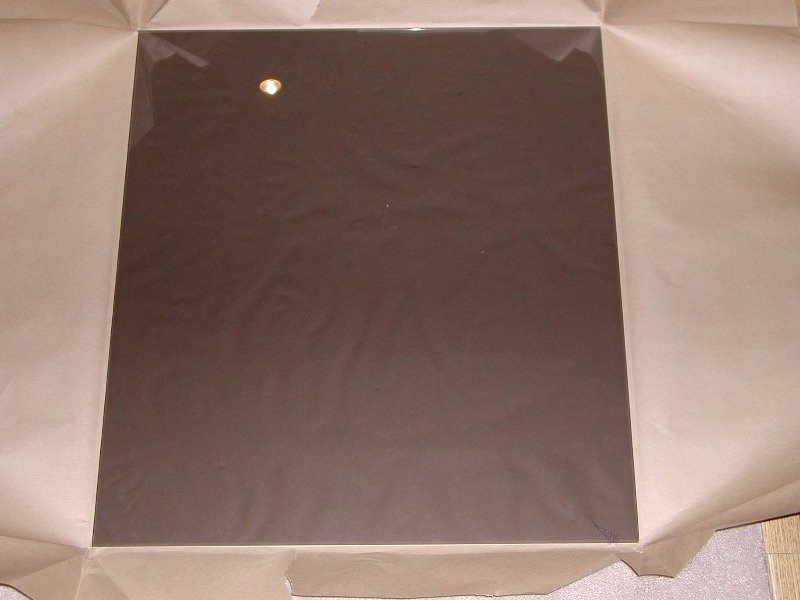
The marquee I built in Photoshop with a font I found, and some additional turtle artwork all super imposed together. The control panel was also put together in Photoshop, using an overlay so I would know exactly where the joysticks would all be so I could position everything correctly. This also worked out extremely well. Lastly making sure everything printed out well was critical. I used the guys at: http://www.gameongrafix.com/ and they were amazing to work with. They went above and beyond for the printing and we exchanged several emails to make sure things worked out well. They had a printing error for one of the sides, but shipped it to me in case I wanted to use it for something else. They also have a ton of artwork ready to go if you don’t want to do custom artwork like I did.

Leave a Reply